Halloween Costume Ideas for You and Your Dog
For us, Halloween is an excuse to bust out the paint, and hot glue and DIY some fun costumes! Whether they’re topical, pop culture references, or just fun ensembles for the fam that require a lot of crafting, we’re here for all of the above. If you like getting crafty like we do, or even if you’re looking for some easy costumes to pull together with stuff you probably already have in your closet, we’ve got some ideas for you. We’ve pulled together all our costumes from over the years and outlined the supplies you’ll need to make the costume come to life.
Mushrooms
Mushrooms were all the rage in 2024, so I couldn’t resist creating these puffy headpieces to be mushrooms pretending to frolic in the woods.
I roughly followed this no sew DIY tutorial and did some improvising along the way, like pinning the fabric around the base/underside of the mushroom. I also wouldn’t skip the stuffing step - I did at first but it’s imperative to get this full mushroom shape.
For Ruby’s hat, I used a brimmed hat she already had as my template for creating the base out of cardboard. I also used some elastic string I had to create a chinstrap so the hat would stay on. My hat is resting my head.
The outter part of the mushrooms are covered in red felt with white felt spots attached to create the mushroom pattern.
To pull everything together we wore white shirts and I had light tan joggers on with white tennis shoes.
Chicken & waffles
Have you ever heard people say doodles look like chicken? Well it’s because of this that this costume is super easy to pull together. If you have a doodle that’s a brownish/red color to resemble a chicken wing then there’s no costume required for them.
The waffle requires a bit of cutting but I used foam board for the whole thing. I attach two boards together to cut the large circular base that I spray painted a light brown. I then cut strips of foam board and spray painted those a buttery yellow. To get the waffle grid, I hot glued 5 of the strip horizontally across the waffle to hide where my two boards were attached. I think cut sections of the yellow strips to place vertically and create my grid. For the butter, I cut out a splatter mark in white foam and hot glued cotton balls to the center. I then painted the whole thing a slightly lighter yellow. To top everything off, where a yellow top and tan pants and you’ve got yourself a waffle.
Campfire & s’mores
One of my favorite costumes from 2024! Our campfire and s’mores ensemble was surprisingly easy to pull together and I’ll link a full material list below. Beyond the materials to craft the costumes, I wore a yellow shirt and pants and Rue wore a white t-shirt she already had to act as her marshmallow. To pull the scene together further, we featured a P.L.A.Y. outdoor dog tent (shop with RUBY15) and a marshmallow skewer with a few marshmallows that you’ll see Rue holding in this picture.
Fire materials:
Light brown and dark brown spray paint
Styrofoam doll rods for the wood
Yellow and orange foam sheets
Ribbon to tie the completed fire around your waste
S’more materials:
Cardboard for the graham crackers - I drew on them with black permanent marker
Styrofoam blocks that you’ll spray paint a dark brown for the chocolate
A white t-shirt or tutu for the marshmallow
Green Thumb
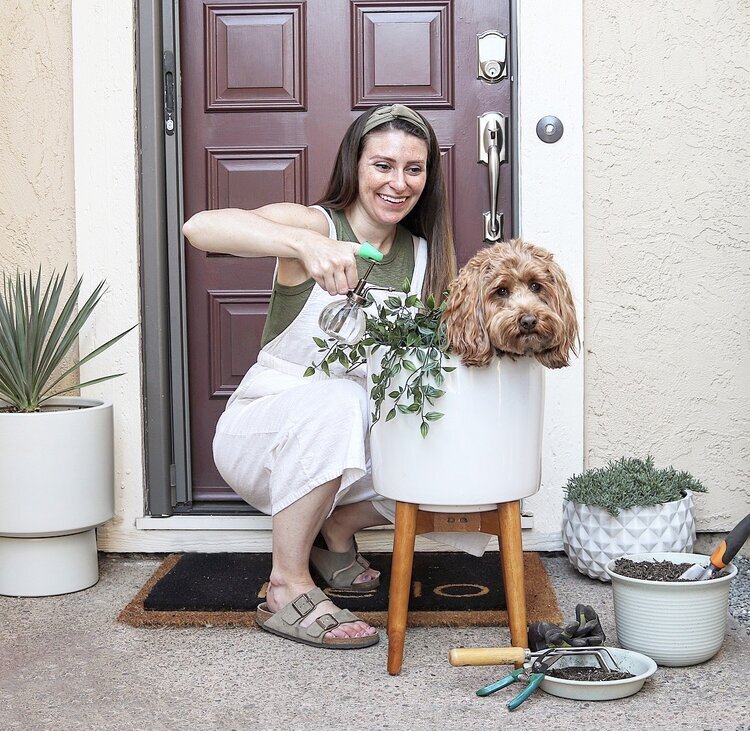
During 2020 when we were all stuck at home during the pandemic we all picked up some new hobbies, and one of mine was gardening. So, naturally I thought one of our costumes that year should be a “green thumb”. Since I had already been gardening for half the year, I had a lot of the supplies: planter, growing pot, gardening tools and soil. To pull it all together, I put ruby in a green tee that had faux greenery hot glued to it and I wore a green, rubber fingertip on my thumb.
Couch Potatoes
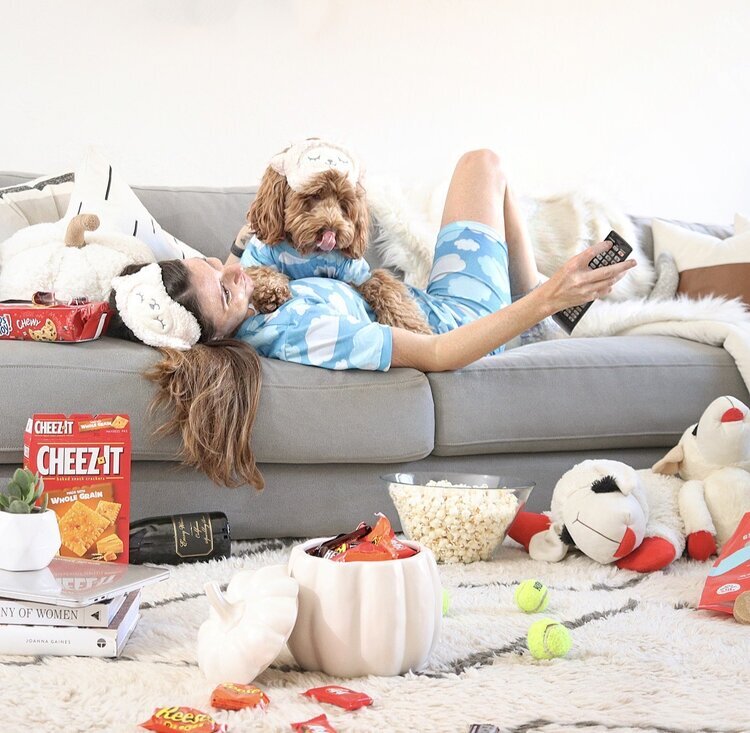
Grab some matching PJ’s and snacks and transform into couch potatoes. This costume is great to stage at home, but you could easily transform this to wear out to a party. Don’t forget props like a remote, blanket, lots of snacks and maybe even a robe and sleep mask! Do not do your hair or makeup and make sure you really go for that “at home” lazy look.
Basic Witches
Another easy costume to pull together! Find all the basic items you have in your closet, like your cozy sweaters, plaid scarves and popular branded accessories. (C’mon, we all have some!) Top your costume off with a basic beverage and a witch hat so you can transform from a basic b*tch into a basic witch. Or, basic witches if you’re going as a group!
Ruth Bader Ginsburg
A no-brainer, crowd favorite! RBG is one of our costumes that always resurfaces each year for the notoriety. I ordered the neck collars and gavel from Amazon and we used glasses we already had. For the black gowns, I wore a black flowy top from my closet and a black cape from Ruby’s costume closet that she wore backwards. And to go full on RBG, I wore my hair in a low bun and pulled Ruby’s ears back.
oktoberfest
This costume doesn’t require any DIYing, so if you’re short on time just make sure you can get the dirndls. I already had a dirndl from a previous visit to the real Oktoberfest and Ruby’s dirndl is from Rubies Costume shop and worn backwards in this photo so you can see the details. I bought the table cloth from Amazon and we already had the P.L.A.Y pretzel and Hofbrauhaus beer mug to tie it all together. This could also become an easy group costume with others joining in wearing lederhosen and sporting different beer mugs.
Pilots
As travel lovers, it seemed only fitting to create a pilots costume with our own custom plane. (If only it actually worked!) This airplane is made completely out of Amazon boxes, hot glue and spray paint. I completely winged the template for the airplane based not the boxes I had. The key to this is using strong ribbon as suspenders and keeping/securing the underbelly of the box where Ruby is sitting. To transform into pilots, I wore a white long sleeve shirt and red scar I already had and bought this aviation hat/goggle combo from Amazon and this hat/scarf combo for Ruby.
The Queen Bee and Her Keeper
Only half of this costume requires DIYing, so this can be an easy last minute option if you don’t want to go full store bought with your outfit. I used this how-to from Joann’s as a guide for my beekeeper hat, wore a simple white button up and jeans that I already had and bought Ruby’s bee costume from Target. I wish I would’ve thought of it at the time, but a crown for the queen bee would be the icing on the cake for this dynamic duo.
Houseplants
If you’re a plant mom, this a fun costume idea for mimicking your favorite houseplant. We have so many plants ever since the pandemic, but I love the easy maintenance of a snake plant and the unique leaves of the monstera. Gather all the cardboard you have to form your pots and then either paper cache the exterior or spray paint it like I did. I loosely followed this DIY from A Beautiful Mess for the pots and snake plant leaves.
For the leaves I used felt, different shades of green crepe paper, and galvanized wire (silver and green coated).
Where’s Waldo
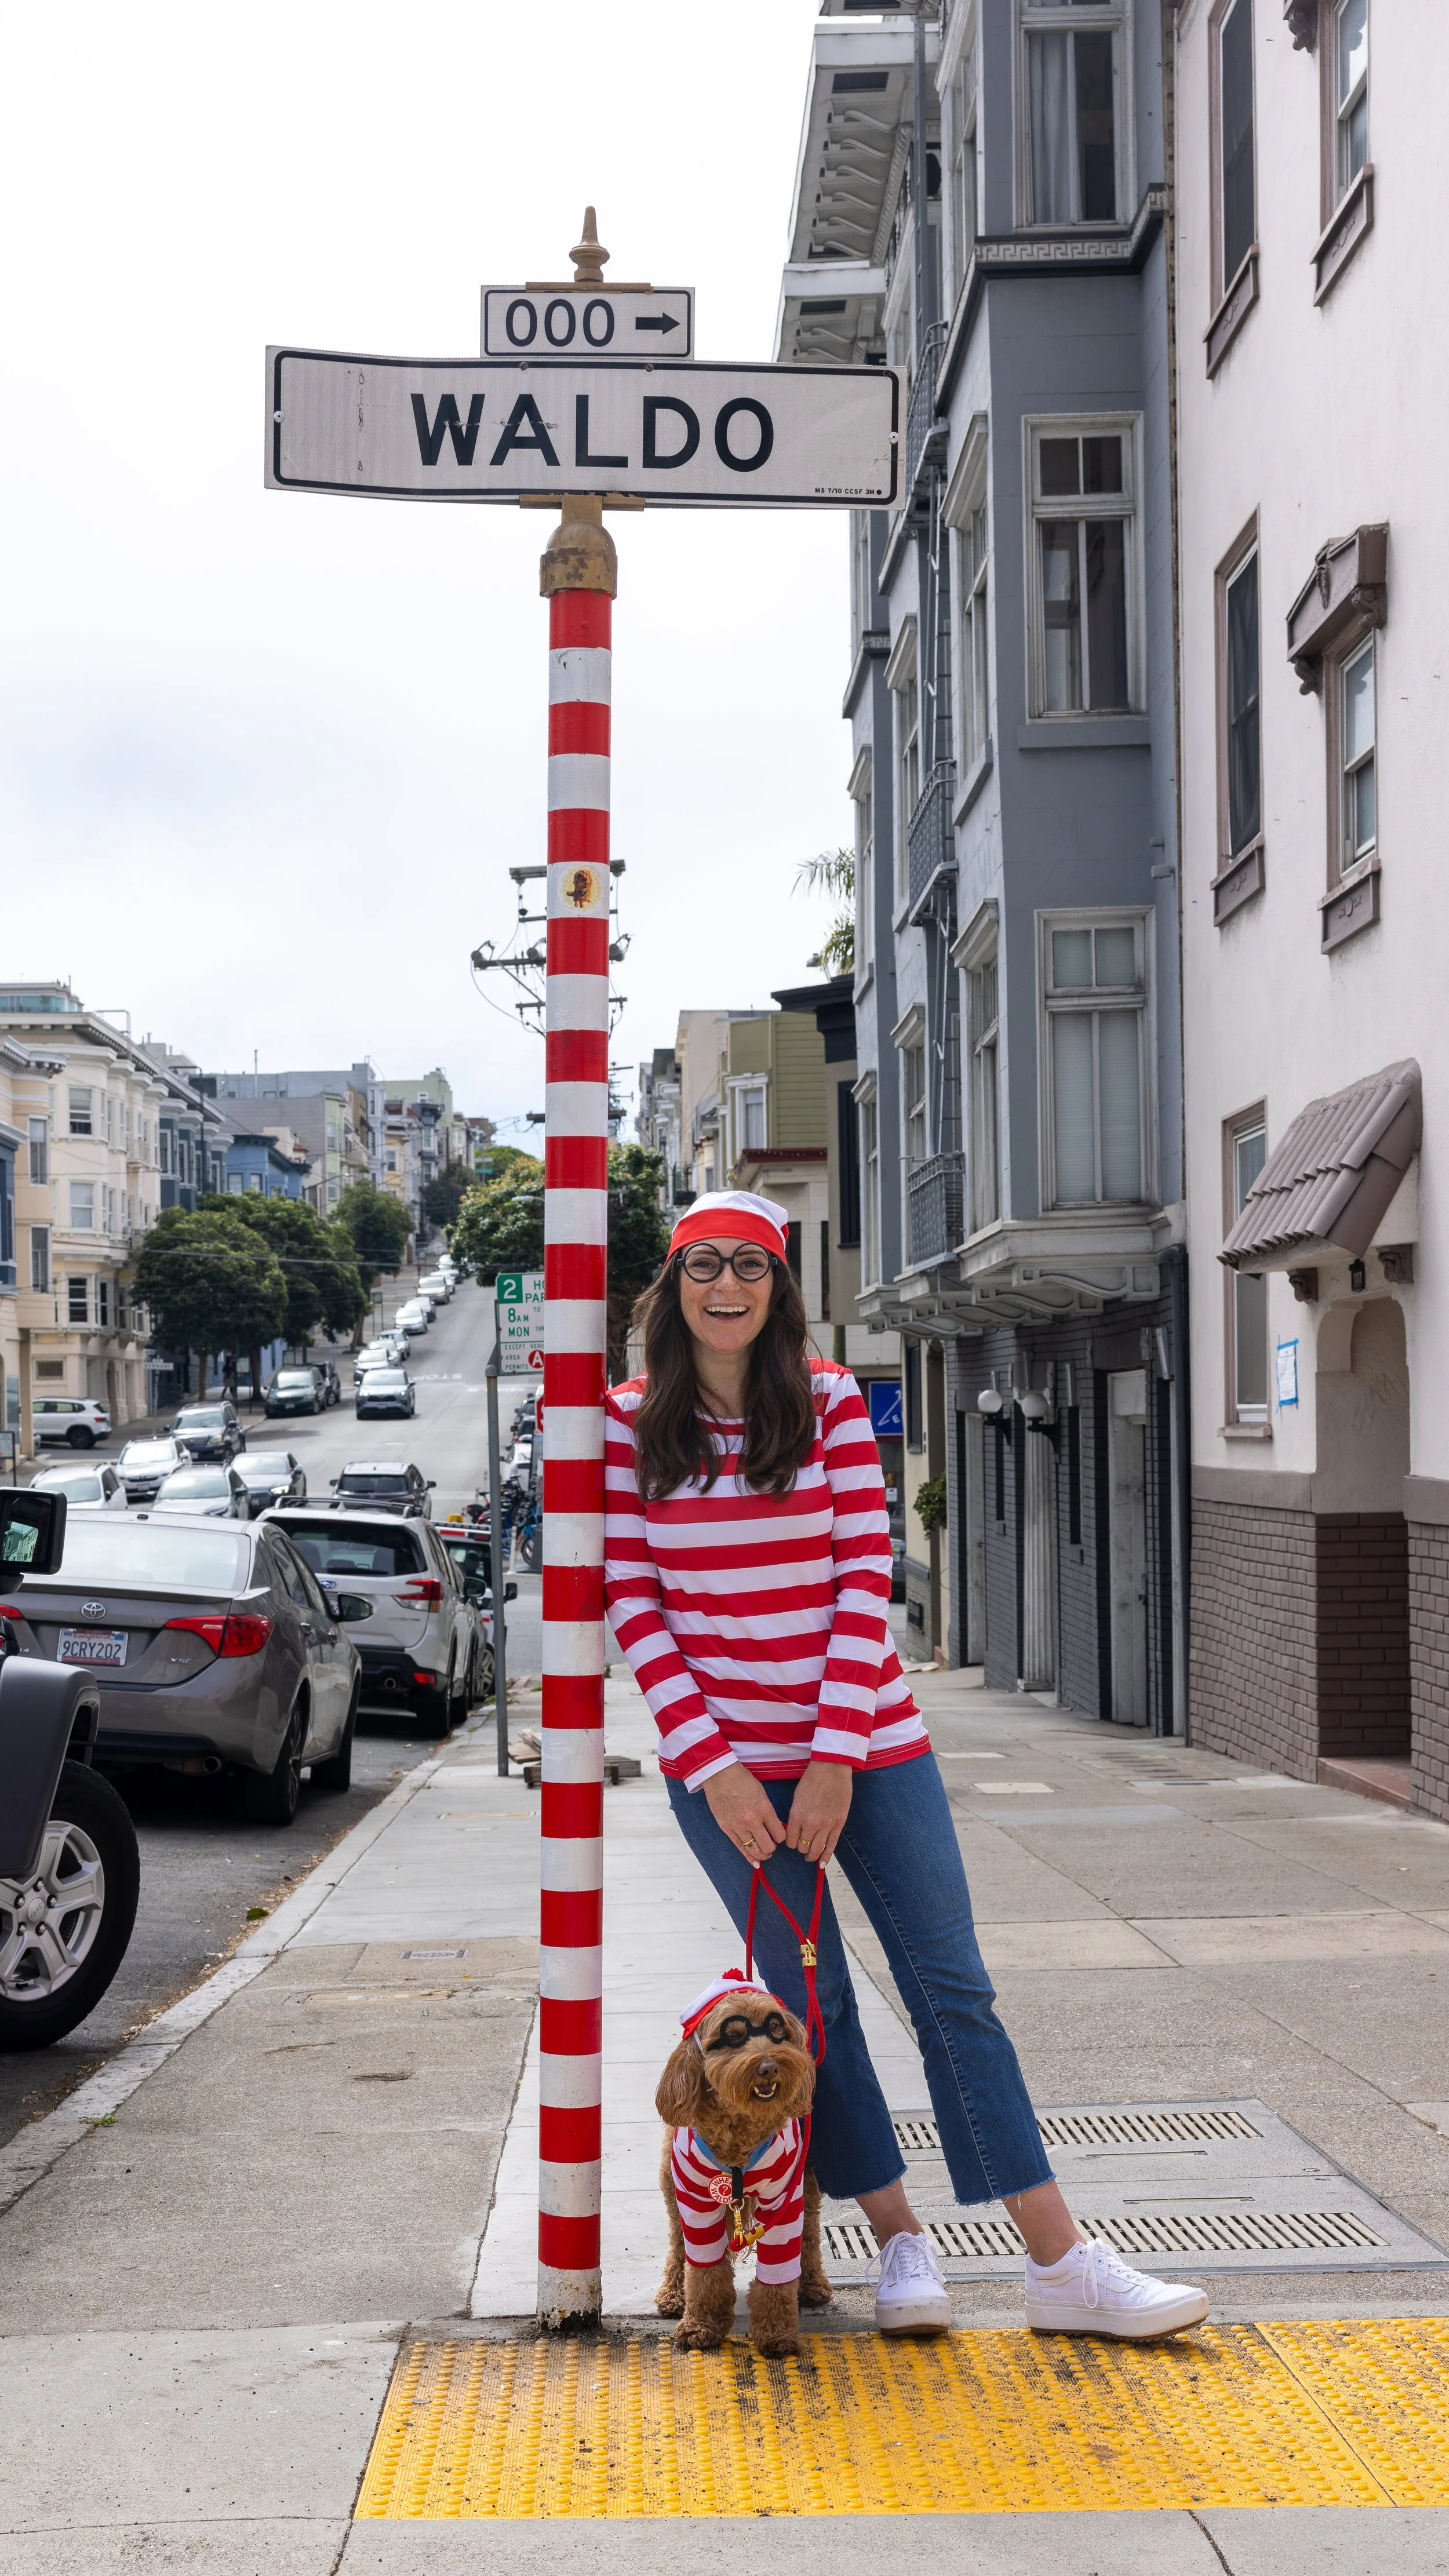
Our Where’s Waldo? costumes require no DIYing and could be pulled together last minute if needed.
We were inspired by this Waldo Street sign in San Francisco and were able to find dog and adult Waldo costumes online. To finalize the outfits I used our red The Foggy Dog leash that we already had on hand for rue and jeans and tennis shoes for me.
Parisians
Another easy last minute costume is to be a Parisian!
Grab a beret, a matching scarf, and your favorite striped top. Top off your ensemble with a baguette or these cute cafe toys from P.L.A.Y. and you’re set.
Human ensemble
Beret: Amazon
Neck tie: Amazon
Top: Amazon
Dog ensemble
Beret: Amazon
Sweater: Rororiri
Bow: The Foggy Dog | Use RUBY10 for a discount
Toys: P.L.A.Y. | Use RUBY15 for a discount
ghosts
Quite possibly the easiest Halloween costume idea to pull together is being ghosts! And it’s very on trend these days thanks to social media.
All you need is a white sheet and a few strategically cut holes for your eyes (and maybe ears).
I ordered these sheets off of Amazon and used no sew heat adhesive to hem Rue’s sheet so she could be more mobile. We already had the flower sunglasses and thought they made for a fun touch.
family halloween costume ideas
In - n - out
The year we moved to California was the year we picked a California classic as our Halloween family costume, and we gotta admit it was a tasty one. People actually thought Doodle Dad worked at In-n-Out and I was pretty proud of my cup pattern thanks to this stencil I found online. For Ruby’s burger, I used this Rubies cheeseburger pet costume as the base and then built the wrapper out of regular and adhesive felt (for the logo). I then sewed the wrapper onto the hamburger.
Tip: I thought I would be able to save time by using adhesive felt for my cup pattern and the burger wrapper, but I ended up hot glueing everything down. If the adhesive felt isn’t kept flat, the edges start to lift and it didn’t seem to stick well to cotton/felt.
Sweet tooth
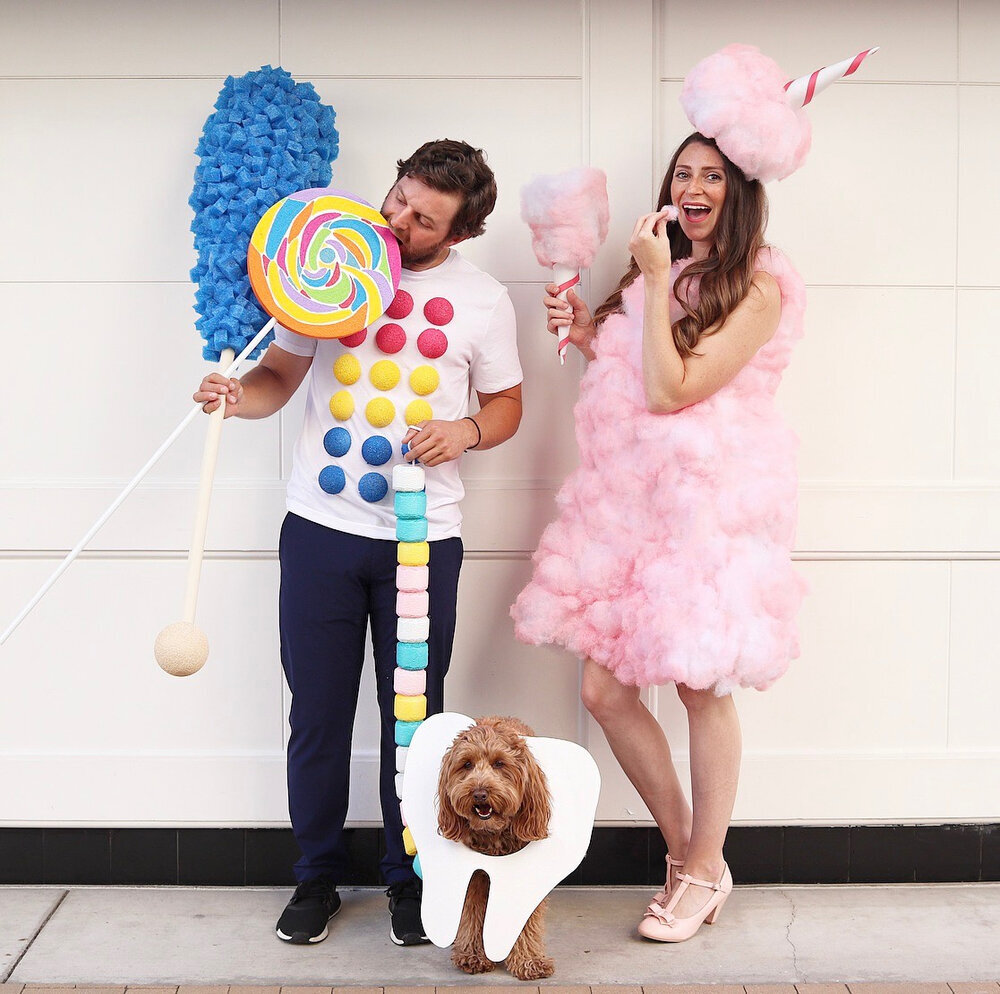
If you’ve got some time on your hands or need a large group option, this sweet tooth costume is for you. It’s a lot of hot glue and spray paint, but don’t be scared. The result is totally worth it!
Cotton candy dress: Spray paint a few bags of pillow stuffing with light pink spray paint. You’ll need enough to build a dress, hat and a prop. Find a cheap white dress to hot glue the pink pillow stuffing to. Use white and red construction paper to build your hat and prop. You’ll want to attach your cotton candy hat to a headband so it can stay put on your head. Top your outfit off with some light pink shoes! This costume was inspired by Aww Sam.
Candy buttons t-shirt: This will be the easiest costume of the group. Cut 9 styrofoam balls in half and spray paint (6) pink, (6) yellow and (6) blue. Once dry, hot glue to a plan white t-shirt.
Sweet tooth: Cut a tooth out of poster board (I free handed this) and then cut out a circle in the middle for a pet or human to wear around their face. Since Ruby was going to be the tooth, I decided to dress up her leash to look like a candy necklace. To create the necklace, I cut a pool noodle into discs and then trimmed the edges at an angle to get the bead look. Then I used pastel spray paints to create the necklace pattern.
Tip: When spray painting pool noodles, make sure you get the smooth texture that will dry evenly, like these.
Lollipop and rock candy: For the lollipop, I painted a large styrofoam disc and then attached it to a white dowel rod. The rock candy stick is a large styrofoam ball spray painted tan in color to match the dowel rod. I used bubble wrap to create the shape of where the rock candy would go and then cut up a few blue pool noodles into square/triangular shapes and hot glued them to the bubble wrap until it was nice and full.
Out of this World
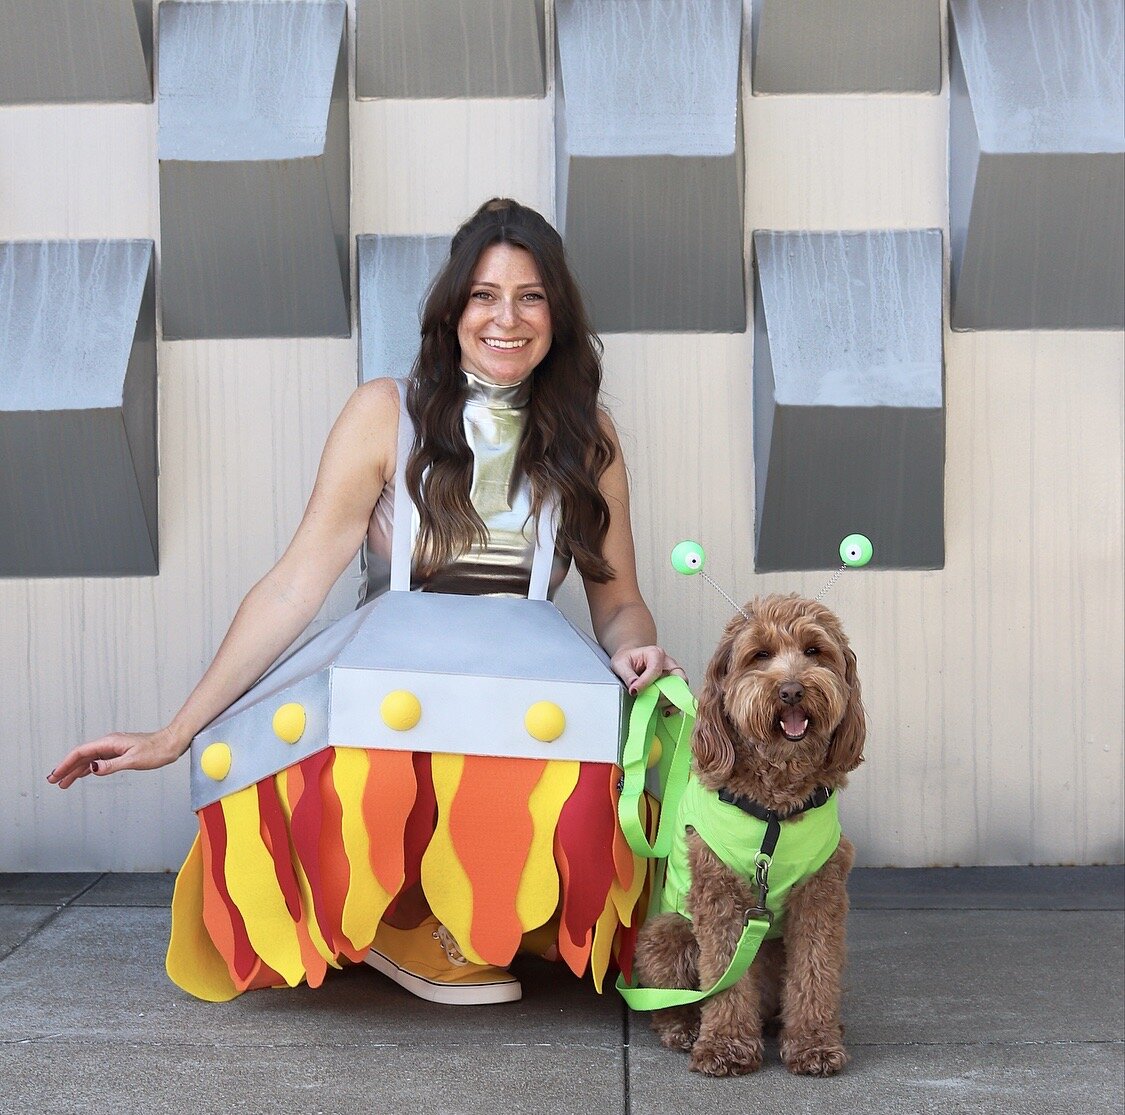
You can find a ton of inspiration for space related costumes online and between Aww Sam’s UFO and a lot of Pinterest DIY’s, we landed on our space-themed ensemble.
Astronaut: This was the first year I put Doodle Dad in charge of his own costume, so the stakes were high. For his uniform he bought a white painters suit from Home Depot and silver HVAC duct tape to create the markings and cover his rain boots to transform them into space boots. He bought kitchen dish gloves and spray painted them silver. (They started to crack as soon as he put them on, so consider an alternative for this item.) And to pull it all together he bought the helmet from a halloween store. Since it wasn’t super fancy and went with his suit, I allowed it despite expecting this to be DIY’d from the start.
Alien: Ruby wore a lime green dog tee and matching leash for the base of her alien costume. I created her alien eyes by spray painting styrofoam balls lime green and adding white felt cut into circles for the actual eye and used a black paint pen to create the pupils. To ensure the eyes stayed on Ruby’s head, I removed the balls from an existing antenna headband and hot glued the alien eyes to the springs. (My original homemade idea was too heavy to stay put on her head, so make sure you test your base first before fully assembling your alien eyes.)
UFO: The most time consuming part for this costume is the UFO build itself. You’ll need 3 pieces of foam board, an x-acto knife and silver spray paint to create the base. (Refer to Aww Sam’s post for a great template.) You’ll want to ensure you line all the sides of your UFO with hot glue, not only to attach each piece to one another, but also for additional stability so nothing falls apart when you’re wearing it. I basically caulked all the seams once everything was attached. To create the lights around the rim, I cut styrofoam balls in half and spray painted them yellow and used red, orange and yellow felt to create the flames coming off the UFO. To actually wear the UFO, I used thick silver ribbon to attach to the front and back of the UFO so I could wear it like overalls. Underneath the UFO, I wore a silver dance leotard and shorts (you’ll want pockets). The final step, was finding a pair of yellow shoes to match the UFO flames.
Dog Mom & Dog Dad Barbie and Ken
Coincidentally, in 2022 I decided to make Barbie boxes for our family Halloween costume just before they started teasing the movie with Margot Robbie and Ryan Gosling. I was looking for something that would still wow like our past costumes, but didn’t require as much spray paint and hot glue.
I used the template from AwwSam for the Barbie front outline and used Canva to design the front into a dog-centric theme. I then had a local printer print the two fronts to the boxes on foam board with negative space where I would cut out the box opening. For the rest of the box I used presentation foam board and magenta wrapping paper to assemble the sides, top, and back. At the time I could only find tri-fold presentation foam board in the size I needed, but would recommend trying to find one sheet with no bends if possible. To make it work I hot glued the seams to make them more sturdy.
I pre-cut the foam board into all the pieces I needed and then used spray on adhesive glue to apply the wrapping paper and trim off the access. It’s SUPER important to triple check all your measurements here. I some how ended up with my sides being a bit to short so the box wasn’t in alignment all the way around and I had to go back and re-do it in the middle of the night. I thankfully had extra foam board for instances just like this.
Once you have everything cut and covered, it’s time to assemble. You’ll need an extra pair of hands to help with holding the boards in place while the hot glue dries. I’d also recommend doing this in a spacious location if possible. We were working in our kitchen it was very tight given the scale of the boxes.
After the boxes were fully assembled, the last thing to do is to build your internal apparatus that will help you hold the box. Dog Dad’s box was easy because he just need two handles inside that I crafted with duct tape. Mine was much more tricky because I knew I’d be holding Ruby within my box. I ended up creating duct tape belt buckles on the inside of the box and strung my belt walk set from Puplove + co through them so I could hold the box up using my waist and have my hands free to hold Ruby. This was a super delicate system, but it got the job done for our photos and costume contest.
One other thing to note is that you definitely need assistance getting the box on. It’s tall and awkward, so you need someone to lift it up over your head so you can enter from the bottom. I also wouldn’t advise this size for a big dog. Dog Dad handed me Ruby from the front opening to hold and there was not a lot of extra room and you can’t really re-adjust from the inside.
Polaroid Camera and Polaroid Picture
I was inspired by our love for photography, for our 2023 family costume and did a throwback take on a polaroid camera and polaroid picture.
Polaroid Camera: The most time intensive aspect of the costume was the polaroid camera, but nothing will ever top Sweet Tooth. I made the polaroid camera entirely from Amazon boxes. It’s easiest to make your square base first and ensure it fits who will be wearing it and then attach the additional aspects of the camera, like the viewfinder and where the polaroid picture comes out. Once you have your shape fully assembled, you’ll want to spray paint the entire camera. Once it’s dry, it’s time to add the final touches. I used a white paint pen for the branding, iridescent paper from Michaels for the flashes, and red sticky felt for the recording button. I also lined the viewfinder with black felt to create a little depth and mimic the eye piece.
Polaroid Picture Frame: The polaroid picture frame is super simple. Cut a piece of cardboard to the size you need based on the subject. To fancy it up a bit, I wrapped the frame in white silk ribbon and applied gold sticker letters to spell out “Halloween 2023”. Because we always wear matching outfits, Rue had a bat bandana on and I had bats on my collar.
Chinese food
In 2024 I saw a fortune cookie costume that I got me thinking about my favorite takeout food and our family Halloween Costume. From the fortune cookie I expanded to a takeout container with noodles with chopsticks and given Rue already kind of looks like chicken I thought she could be our protein and pose as orange chicken.
Fortune cookie: You’ll want a skin tone base to start - I chose a ribbed maxi dress from Amazon. Then you’ll need tan foam sheets to form your fortune cookies and a roll of white paper for the fortune strip. I followed this tutorial to make the large and small fortune cookies. I attached a bobby pin to the small one to wear in my hair and used velcro strip to attach everything to my dress. I printed my fortune saying and then used a utility knife to cut away the excess white printer paper and glued my saying to the fortune strip that I had cut to my desired width and length.
Takeout container with noodles: The container itself is assembled from 3 white sheets of poster board. I straightened galvanized wire to create the metal handle and printed the design on the front of the container. The noodles are strips of gold ribbon, the carrots are squares cut from an orange foam sheet, and the peas are smooth styrofoam balls that I painted green. For your base, you should wear all white to blend in with the takeout container.
Orange chicken: I was originally trying to figure out how to attach the sesame seeds and green onions to Rue’s fur directly, but when that didn’t pan out I got an orange dog t-shirt and hot glued everything to it. The sesame seeds are cut out of a white foam sheet and the green onions are strips cut from a green foam sheet and hot glued into a circle.
additional resources
Halloween Costumes Using P.L.A.Y. Dog Toys


